
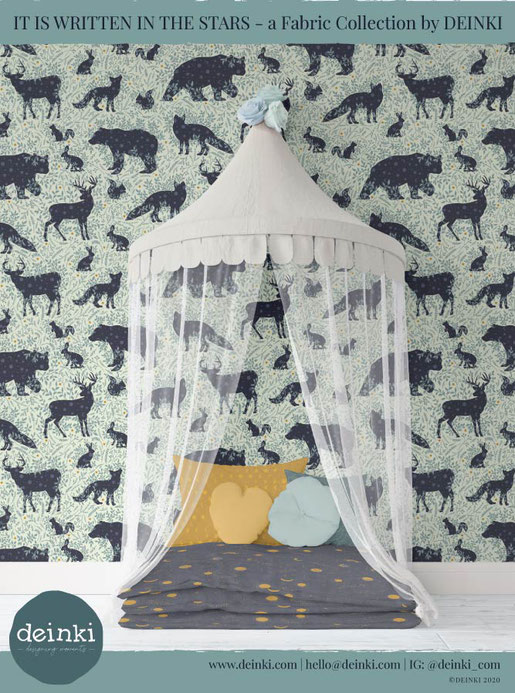
In this blog post, I will show you my process for creating a pattern from a print taking one of my latest and favorites pattern as an example:
from this print > > > to this pattern
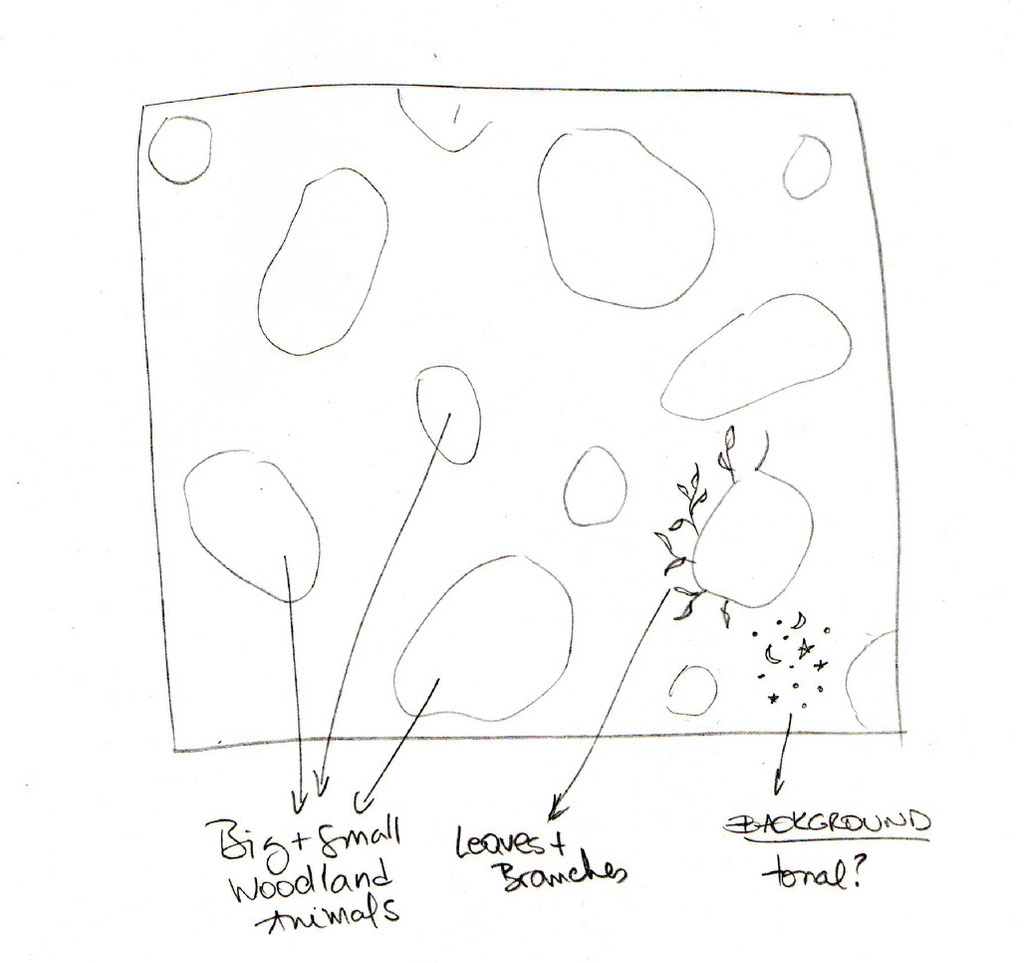
sketches
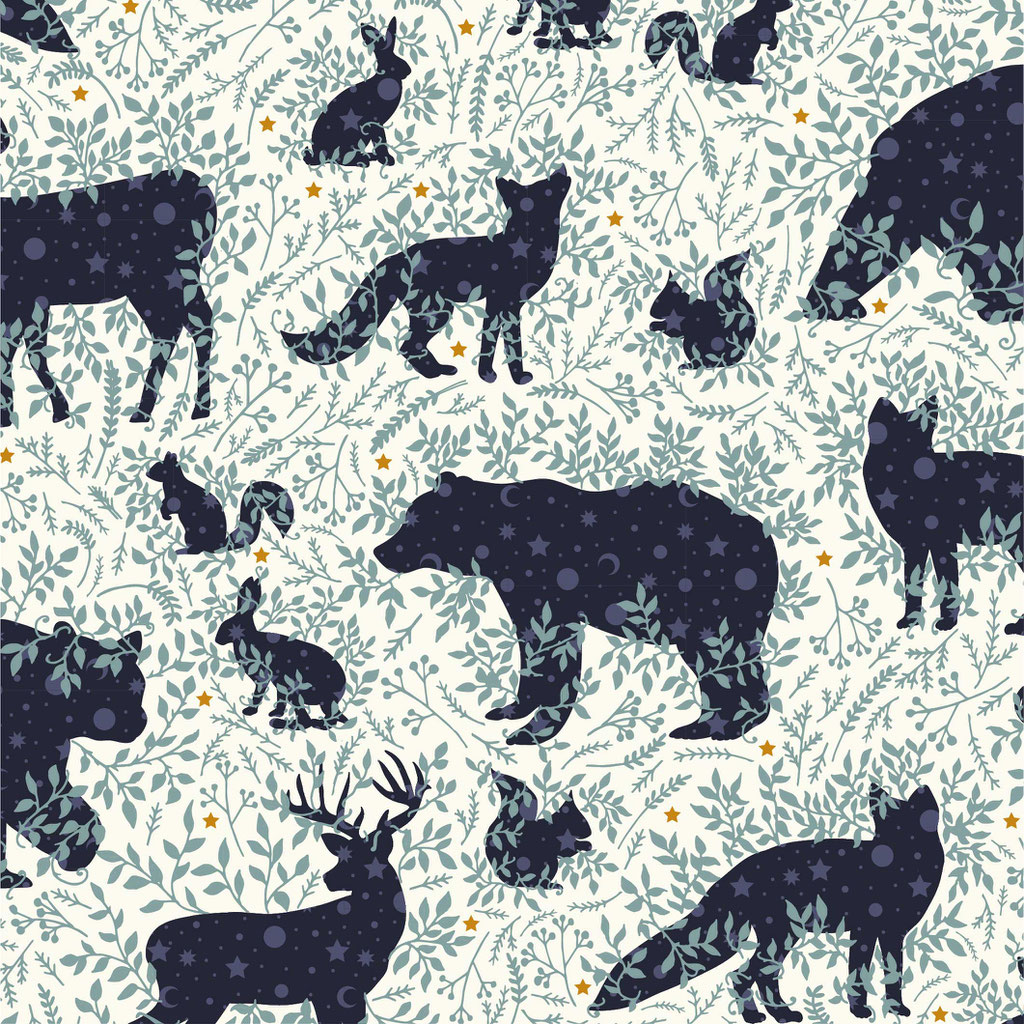
finished artwork
step by step

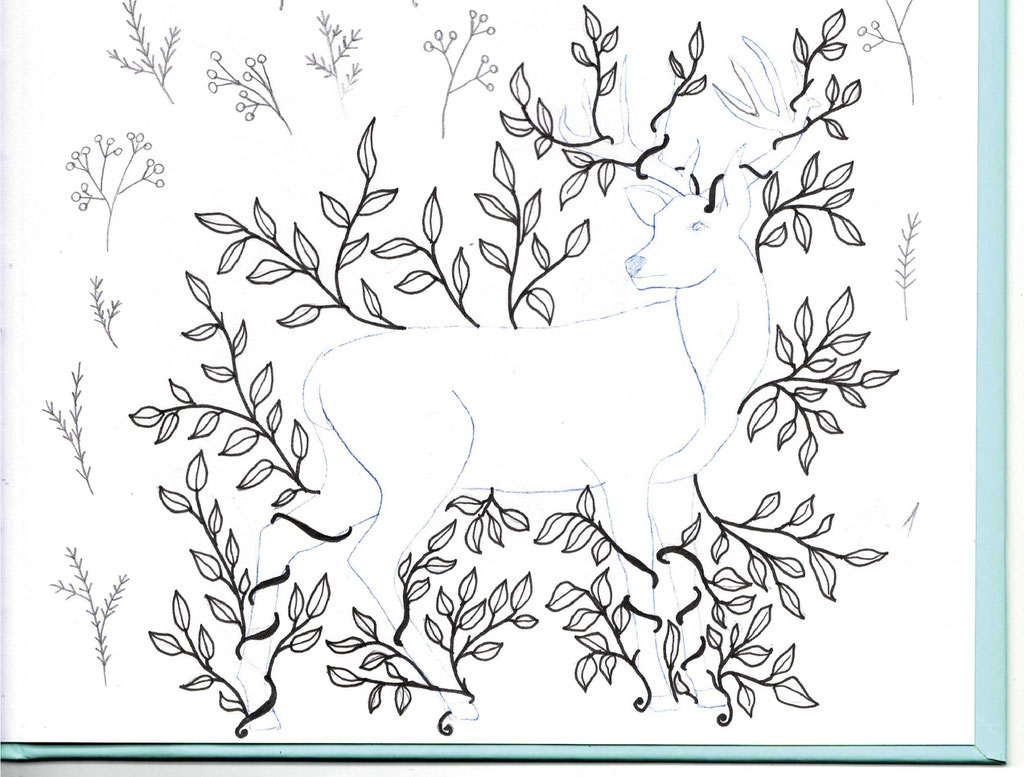
So, after deciding which woodland creatures I wanted to have in the pattern, I drew some silhouettes. For this particular pattern, I was going for a rather simple shape and no details like eyes, fur, mouth, etc. Once I had the blank silhouettes, I arranged them for a half-drop repeat, to add a bit of movement to the pattern.
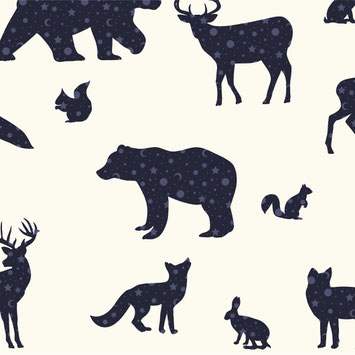
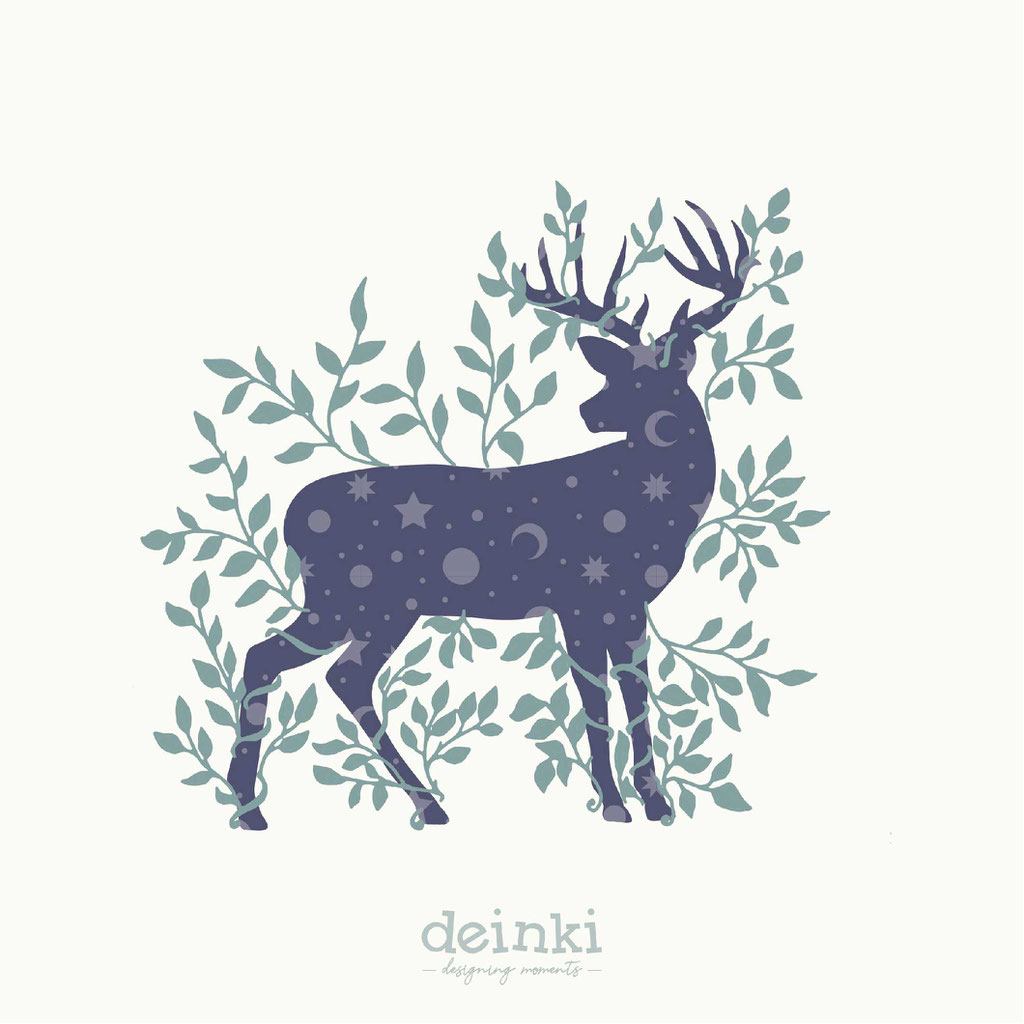
My original idea was to fill every animal with different drawings of stars, planets and moons, but I soon decided to make a simpler pattern inside a pattern.
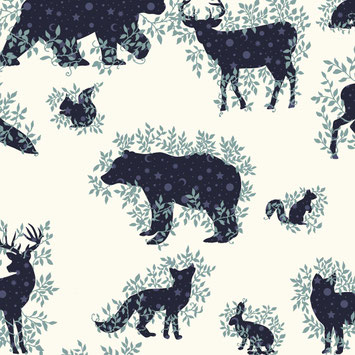
Then, I added the leaves that I had drawn by hand in my sketchbook "tangled" at each animal. After that, I had to re-arrange some elements to avoid too much negative space or "alleys" in the repeat.
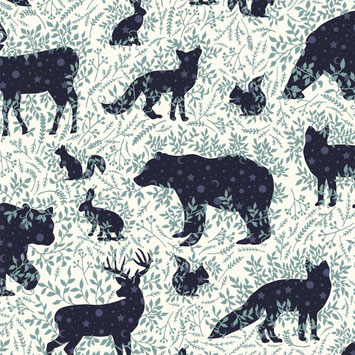
This next step took me really long. My original idea was to fill the background with stars, moons, dots, sparkles and so on... Instead, I drew some extra leaves, buds, branches and fill the background with them. Still, something was missing...
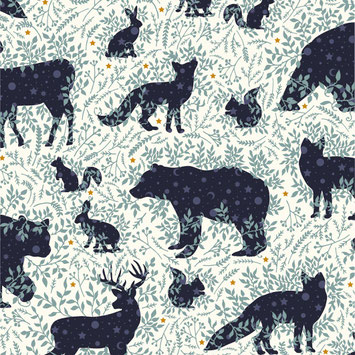
Finally, the little golden stars gave the pattern some extra magic and contrast.
et voilà!


Write a comment
Rumana (Monday, 16 November 2020 17:57)
I really love the way or process you work. Thanks for step by step and visual explanation.
Lucia from DEINKI (Tuesday, 17 November 2020 09:45)
Thanks a lot Rumana!! :)
Joanna Williams (Tuesday, 15 November 2022 09:50)
Really beautiful pattern �